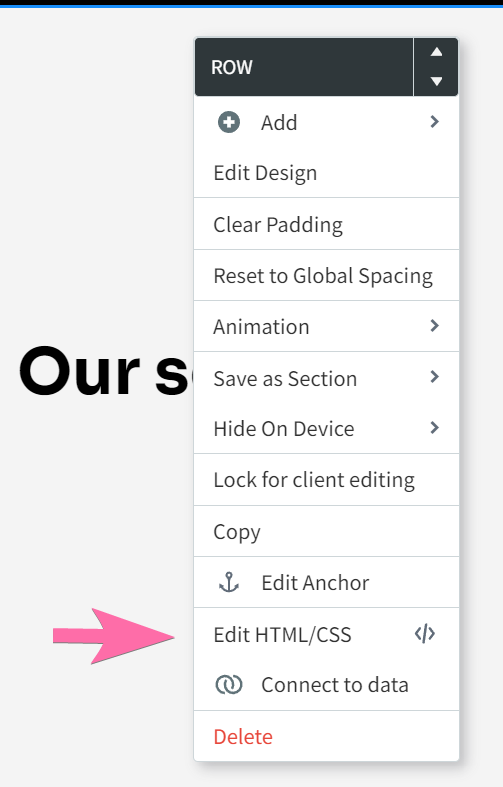
1. In the Duda editor, right-click on the Row where you want to add the Shape Divider, then click Edit HTML/CSS.
2. Click on the CSS tab.

3. Copy the code from ShapeDividers.com

4. Paste the code here:
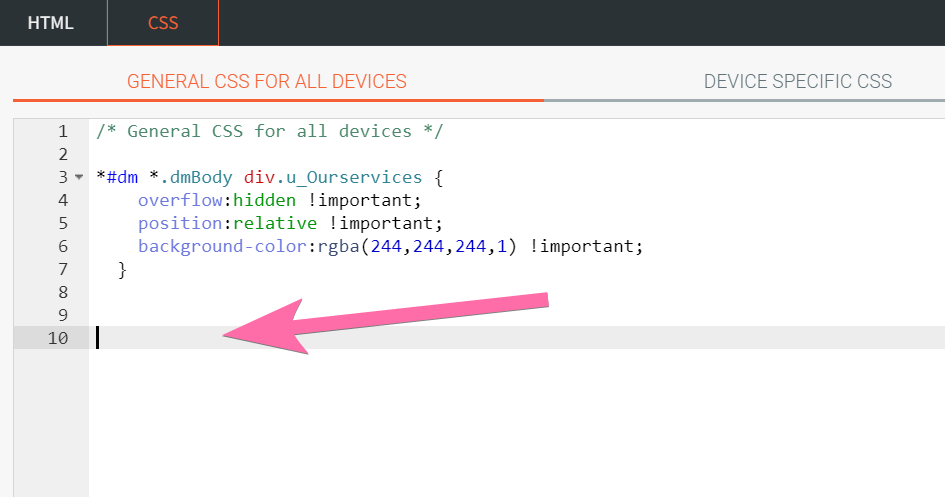
5. Copy the selector from the rule that was already present. If no rule was there, temporarily add a background color to your row, so that when you get to this CSS area, there will be a CSS rule already.

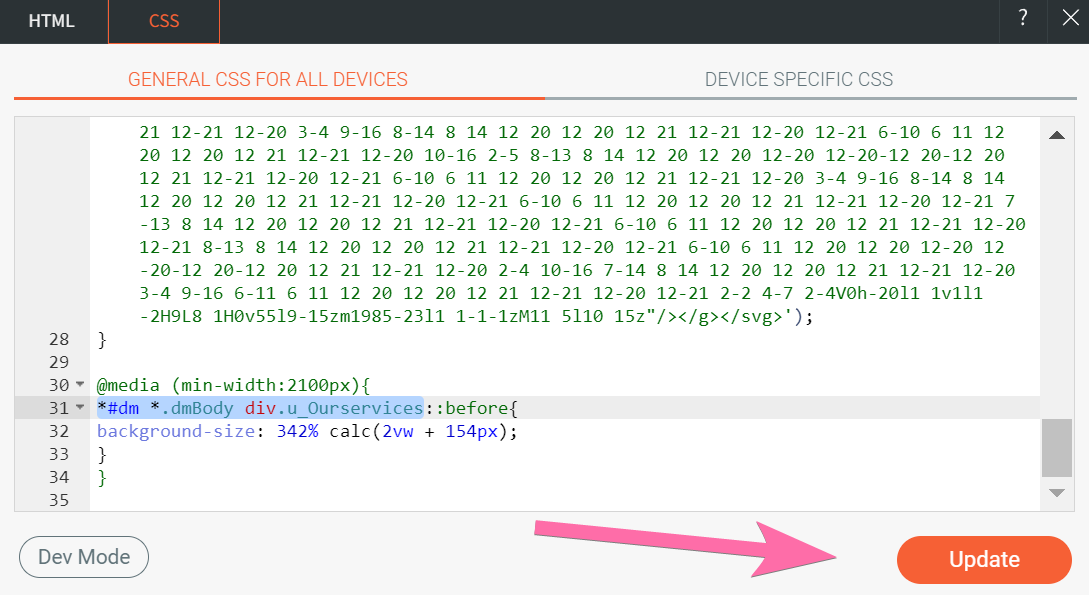
6. Replace the generated selector from ShapeDividers.com (.shape-xxxx or .shapedividers_com-xxxx) with the selector you copied above. There will be atleast 3 selectors to replace, more if you enabled ‘Responsive’.

7. Right below the font family, add the declaration: display:block; . It’s not generated by default as it’s only needed on Duda websites.

8. Click Update.
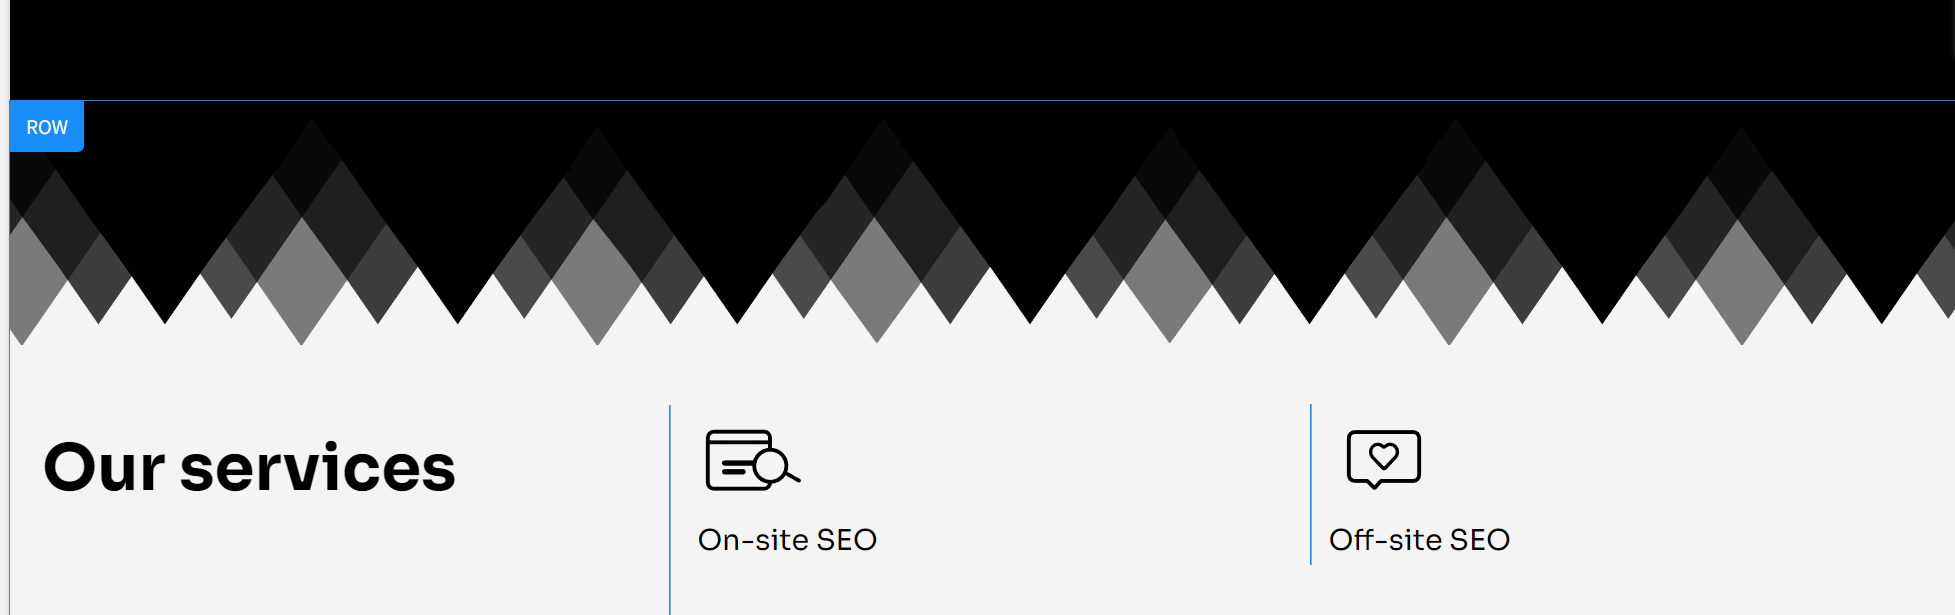
9. Enjoy your shape divider!
10. Note that Duda will only show CSS directly related to the row there, so when you go back there (say, to change the design of the shape divider), you won’t find it. You will only see this:
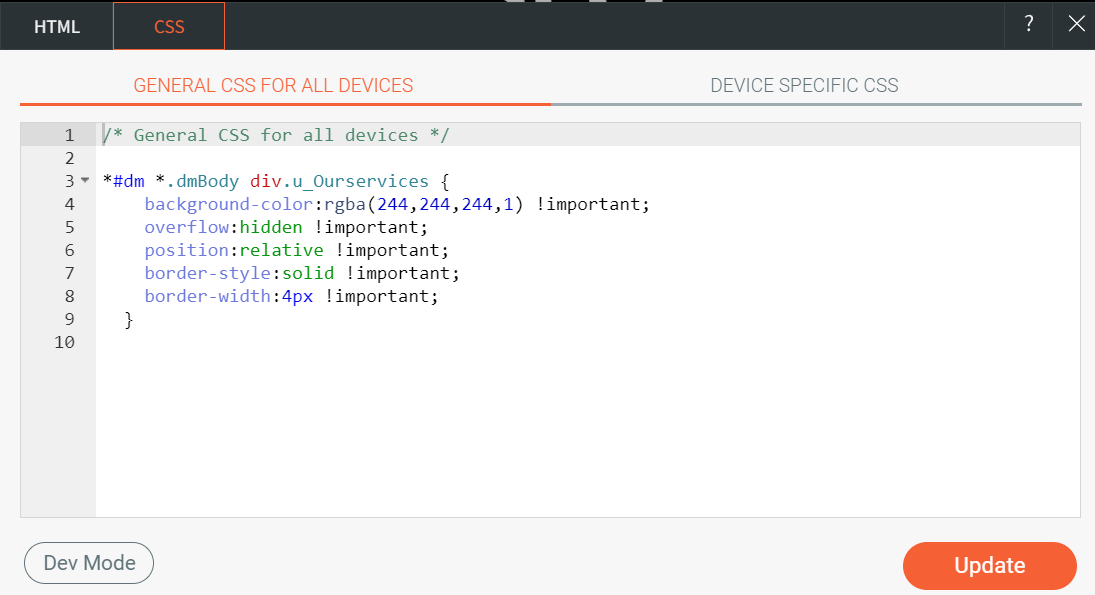
11. Click on the Dev Mode button in the lower left corner to find back the code, then click on the .CSS file:

12. Do a CTRL-F (or CMD-F) with the string ‘shapedivider’ to quickly find the CSS again:

13. Edit or replace the CSS as you want, with your updated shape divider code.
Cheers!